Launch Planning Space Desktop
First download and installation
Planning Space Desktop is a Windows client application that needs to be installed in your own Windows machine. Each installation is specific to a Planning Space Web server, but you can use the same client app to connect to different Planning Space tenants in the same server.
For the initial download and installation steps, see Planning Space Desktop download and installation.
The client application is self-updating: every time it runs it checks if the server has an updated client version, and will install the update automatically.
Using a Planning Space Desktop client
Each Planning Space server that you connect to will install a different 'client application' in your local computer, and these will be added to the Windows applications menu, under the folder 'Palantir 20.3'.

Normally, you can run Planning Space Desktop simply by selecting the appropriate client app shortcut from the Windows menu. The application when it launches will check for any software changes in the server and download software updates automatically. If an update is required, you will see a progress window like the following:

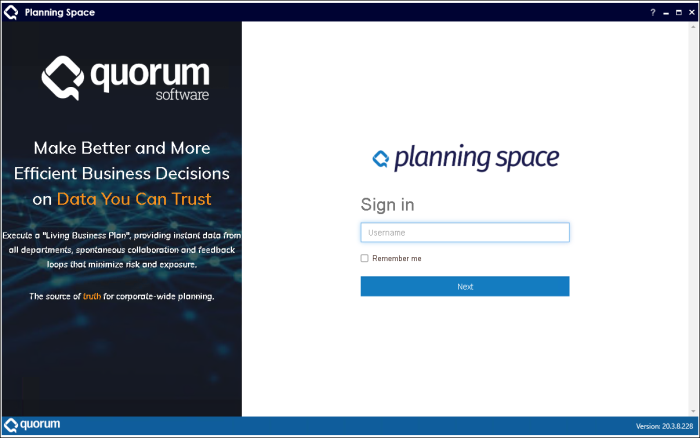
After the updating completes, you will see the Planning Space login screen:

(The information banner on the left-hand side will not be displayed in case the application window is less than a certain width.)
Type in your Username and click Next. Note that for a 'Windows Active Directory' account, in the 'Username' field you need to type in 'DOMAIN\username' ('username' only will not work).
The Remember me option checkbox can be used to store the last-used Username for the next login using this client app.
If the Planning Space server is running more than one tenant the next screen will require the tenant name to be typed in, or (depending on the server configuration) a selection list of the tenant names will be displayed. Note that the Server actively checks which tenants contain a Login ID that matches the given 'Username', and if there is only one matching tenant then this selection step will be omitted.
At the next step you will either be requested to type in your password (which will be verified by the Server), or for a 'SAML2' user account you will see an Identity Provider server screen. In this screen, you may be required to select one of several federated accounts, and you may be requested to enter your federated password (the details depend on how your Planning Space deployment has been configured for single sign-on, etc.).
If login is successful, the Planning Space application selection screen will appear as shown below. The applications may take a short time to initialize (you will see 'Initializing Planning Space').

Once an application has initialized, it can be opened by clicking its application icon. You can also select an application by clicking at the top left corner (over 'Planning Space') to open the navigation menu.
For instructions on how to navigate between the applications and workspaces in Planning Space Desktop, see Navigation.
Launch from Planning Space Web
You can also launch Planning Space Desktop from the Planning Space Web home page by clicking the Open Desktop App buttons for Dataflow, Economics, or Financials. In this case there is no need to do a login for the Desktop application because you have already authenticated with credentials in Planning Space Web.
